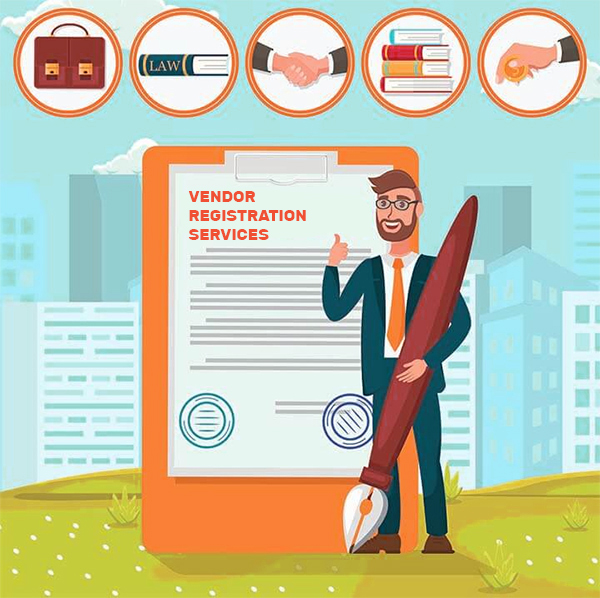
Local vendor website registration is the first step for small businesses to build their digital presence. By completing seller onboarding steps, choosing between free website listing platforms or D2C portal registration, and setting up a business website, vendors can create a strong online vendor identity. This process not only boosts visibility but also builds trust, increases sales, and expands reach beyond local markets.
In today’s fast-paced digital economy, local vendor website registration is no longer an option; it’s a necessity. Whether you are a small business owner, a local artisan, or a retailer expanding into digital space, building an online presence ensures visibility, trust, and growth. This beginner-friendly guide will walk you through the seller onboarding steps, how to set up your business website, and why registering on D2C portals can transform your local business into a thriving online store.
Why Local Vendor Website Registration Matters
Gone are the days when customers relied only on physical shops. Now, people search online before making any purchase. If your business isn’t listed digitally, you’re invisible to a huge audience. With online vendor identity, you gain:
- 24/7 visibility – customers can find you anytime.
- Increased credibility – a verified profile builds trust.
- Direct-to-consumer (D2C) access – sell without middlemen.
- Market expansion – reach beyond your local area.
- Free website listing opportunities – showcase products without heavy costs.
Simply put, vendor registration is the foundation of eCommerce shop creation and long-term growth.
Step-by-Step Guide to Local Vendor Website Registration
1. Define Your Business Model
Before signing up on any platform, decide:
- Do you want a standalone business website setup?
- Or do you prefer a D2C portal registration on platforms like Amazon, Flipkart, Meesho, or Jiomart?
Tip: Many local vendors begin with free listing platforms and later expand to their own websites for stronger branding.
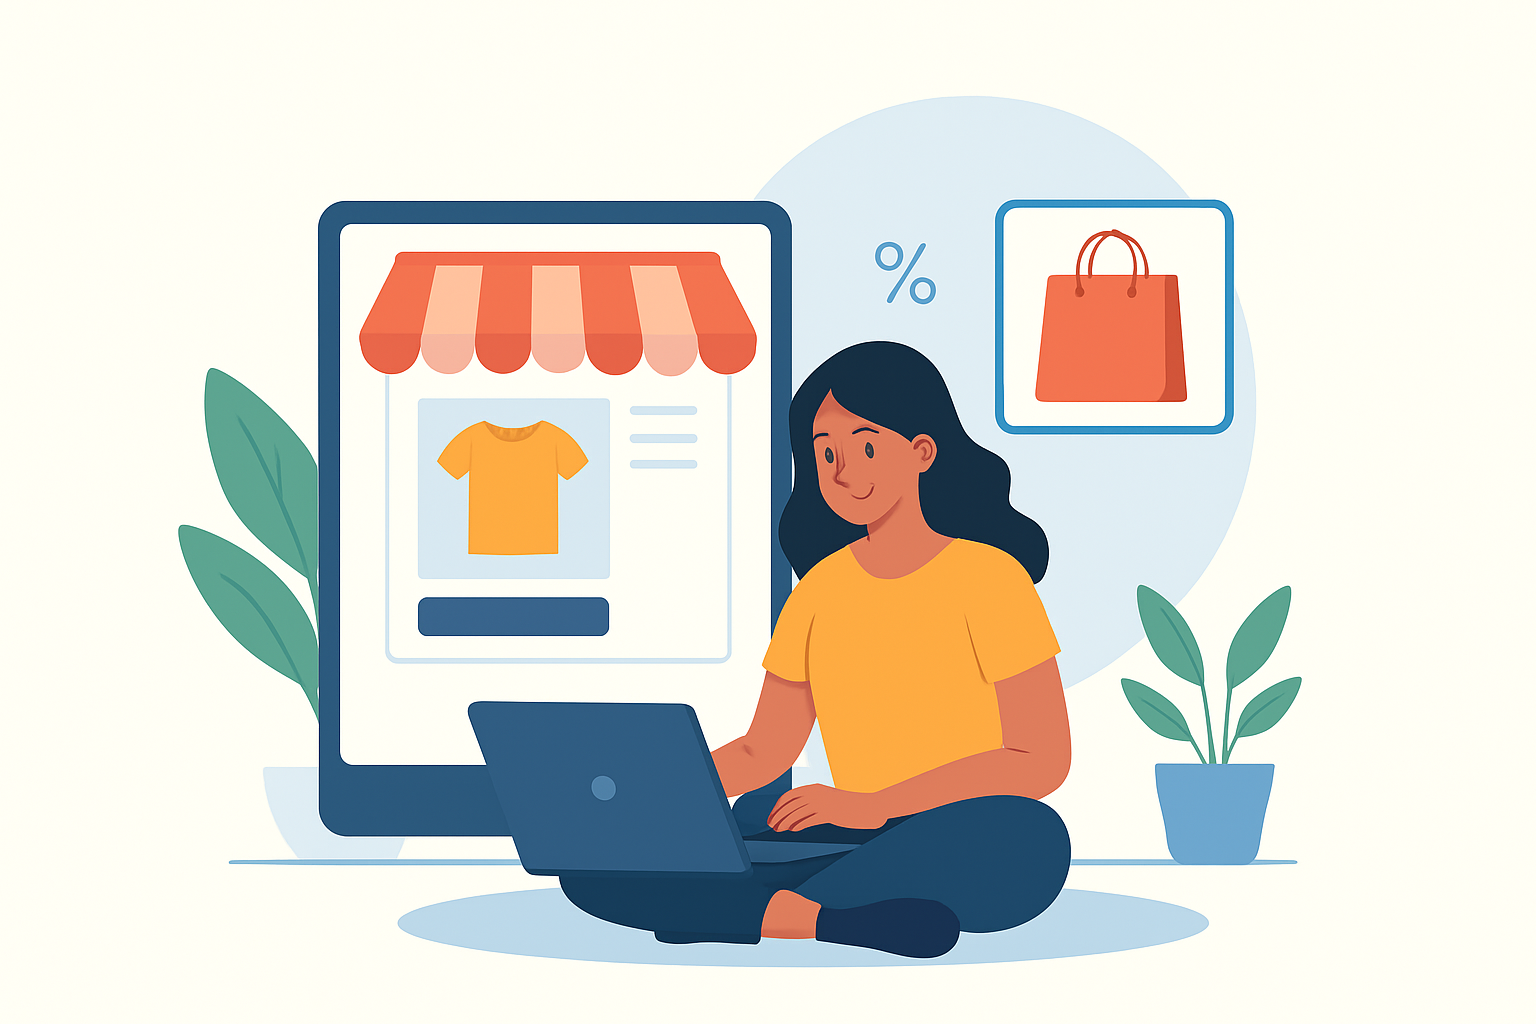
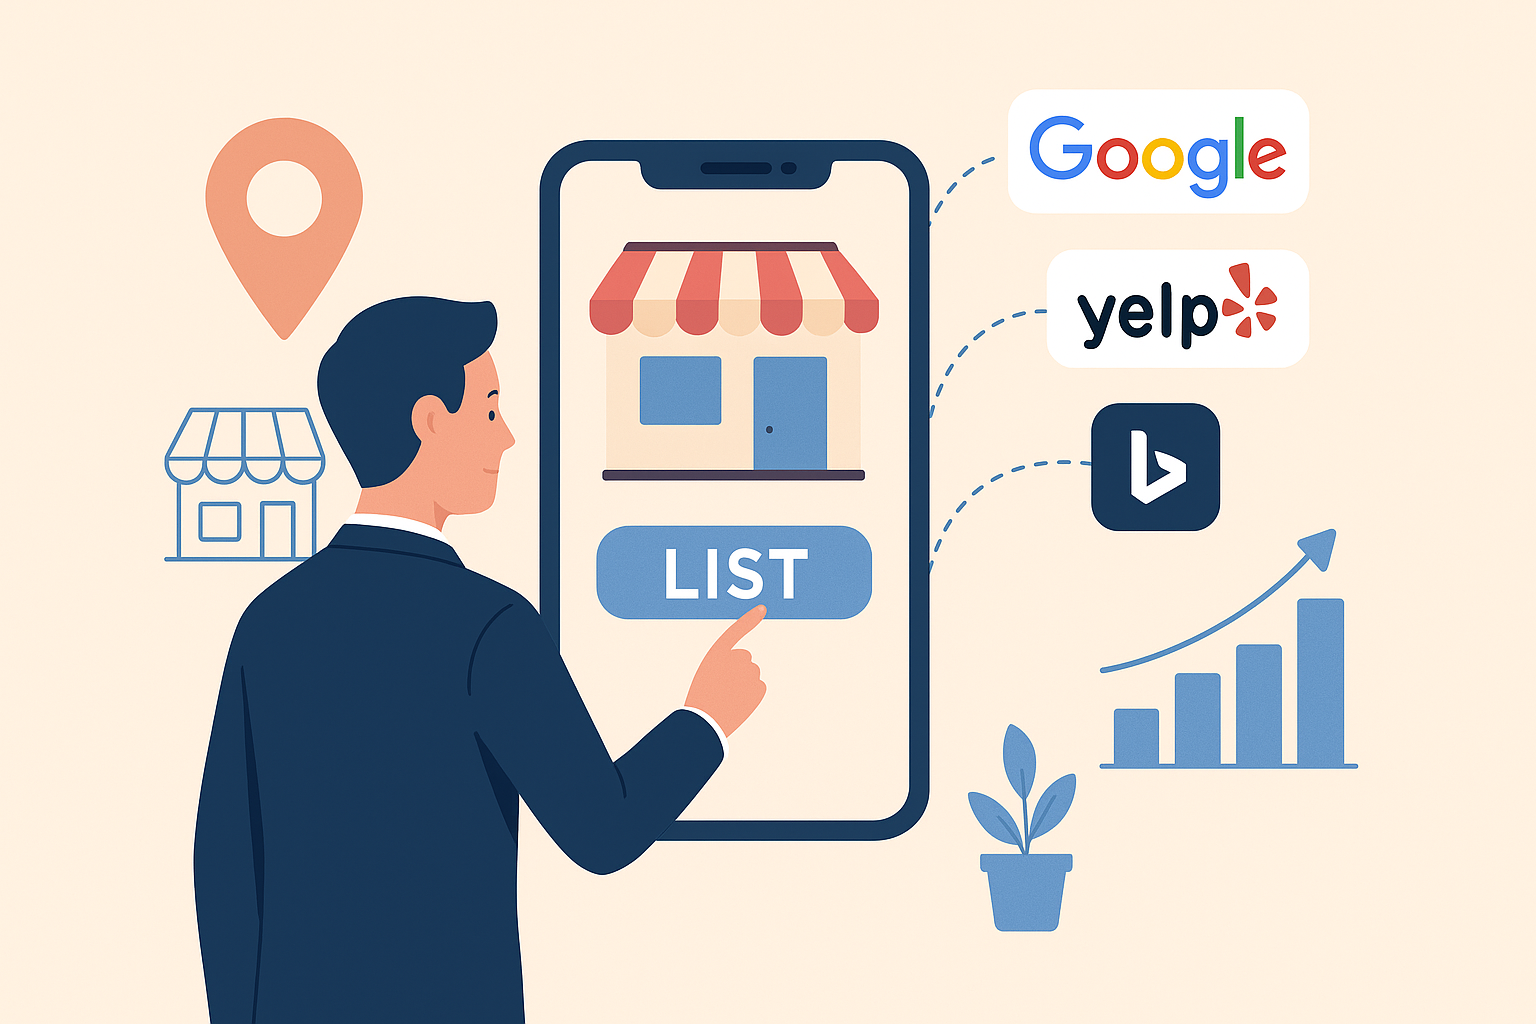
2. Choose the Right Platform
Your choice of platform will determine your reach and ease of use. Options include:
- Free website listing sites (Google My Business, Justdial, IndiaMart).
- E-commerce platforms (Shopify, WooCommerce, Wix).
- Marketplace vendor accounts in India (Amazon Seller, Flipkart Seller Hub, Meesho Supplier).
Pro Tip: If budget is tight, start with a free listing, then gradually invest in your own vendor account India portal.
3. Complete Seller Onboarding Steps
Every platform has a registration process. The most common requirements are:
- Business name and GST details (if applicable).
- Bank account details for payments.
- KYC verification for online vendor identity.
- Product catalog with clear images and descriptions.
Optimizing your onboarding:
- Use SEO-friendly product titles.
- Add high-quality product images.
- Write descriptions focusing on customer benefits.
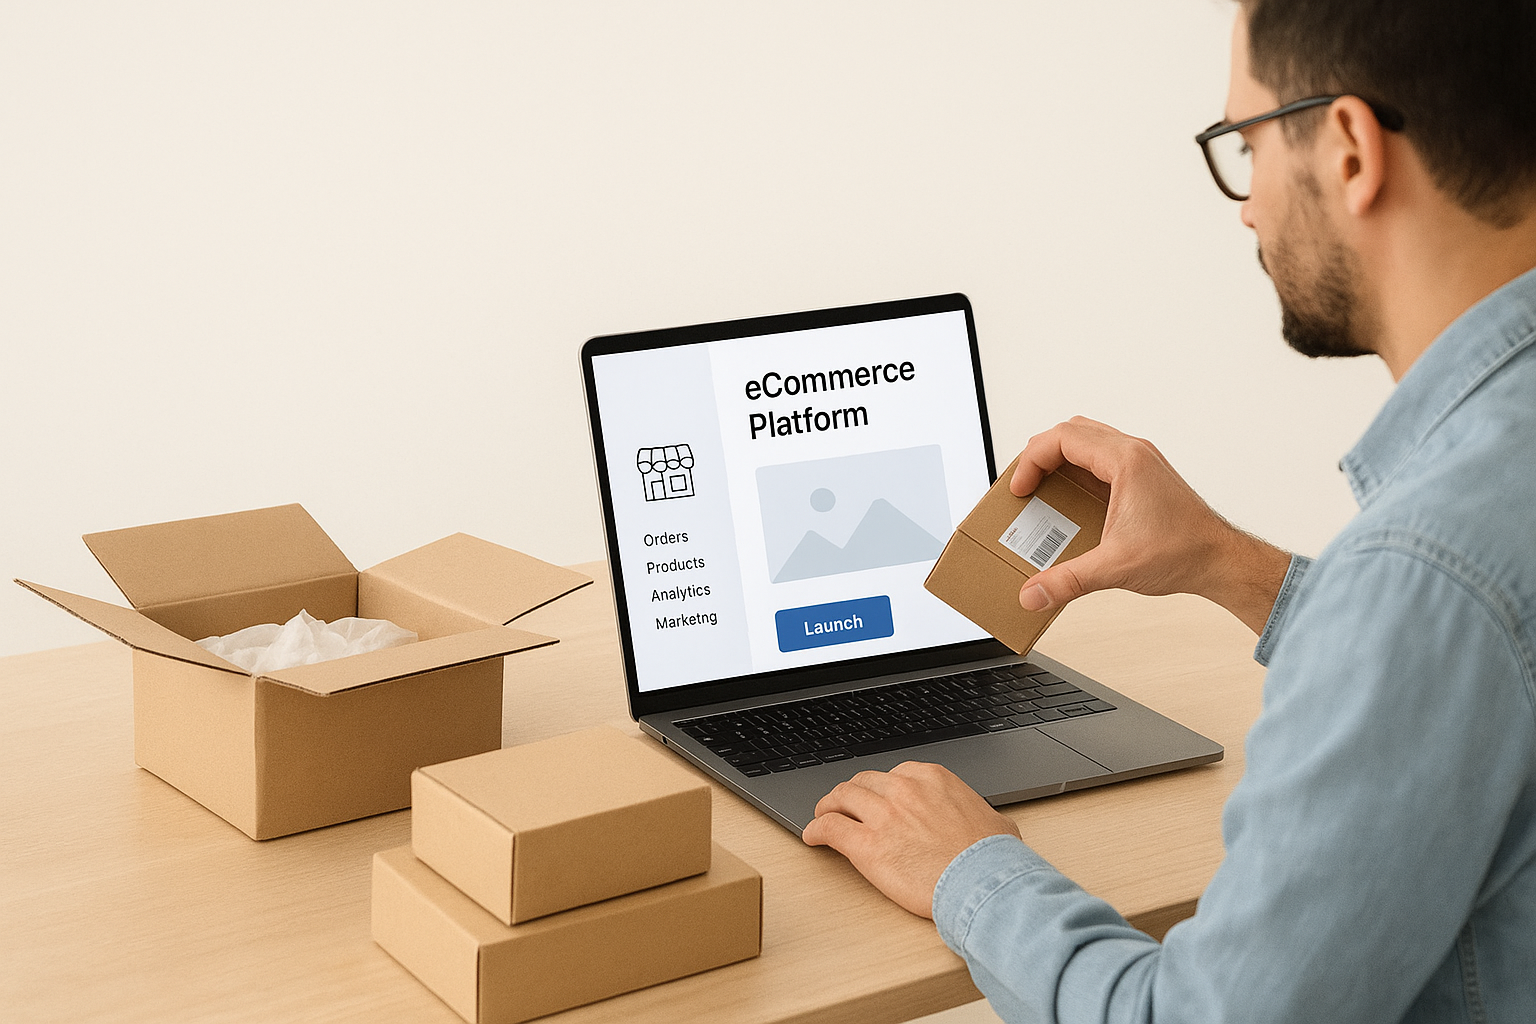
4. Setup Your Business Website
If you prefer full control, a business website setup is essential. Here’s how:
- Register a domain name that reflects your brand.
- Use platforms like Shopify, WordPress, or Wix for easy setup.
- Add eCommerce features: payment gateways, product listings, and shipping options.
- Integrate with social media and Google for organic traffic.
Bonus: Once your eCommerce shop creation is live, run basic SEO (meta tags, keywords, mobile optimization) to attract more customers.
5. Build Your Online Vendor Identity
After registration, it’s important to establish trust with customers. Ways to build credibility:
- Collect customer reviews and display them.
- Provide clear return and refund policies.
- Keep your contact details and support active.
Think of your online vendor identity as your digital shop signboard, professional and trustworthy.
Free Website Listing vs. Paid Platforms
| Feature | Free Website Listing | Paid Platforms (D2C / Own Website) |
|---|---|---|
| Cost | Free | Monthly/annual subscription |
| Control | Limited | Full control of branding & design |
| Audience | Local + general searchers | Wider audience + niche targeting |
| Scalability | Moderate | High – expand as you grow |
Both options have value. The smart move is to combine both: start with free listings, then scale up with your own business website setup or D2C portal registration.
Common Mistakes to Avoid in Vendor Registration
- Skipping SEO keywords in product descriptions.
- Using low-quality or unclear images.
- Not updating stock regularly.
- Ignoring customer feedback.
Remember: Optimizing your online presence ensures higher visibility and customer trust.
Final Thoughts
Local vendor website registration is your ticket to growth in the digital marketplace. Whether you choose free website listing, D2C portal registration, or a full business website setup, the key is to stay consistent and customer-focused.
By following the seller onboarding steps, maintaining your online vendor identity, and investing in long-term branding, you’ll transform your small local shop into a powerful eCommerce business.
🚀 The sooner you register, the faster you grow. Don’t wait- start your journey into digital sales today.


Comments
No comments yet. Be the first to comment!